400 North Ashley Drive,
Suite 2600,
Tampa, FL 33602

400 North Ashley Drive,
Suite 2600,
Tampa, FL 33602

Serving Area: Tampa and the surrounding counties, including Citru, Hernando, Hillsborough, Manatee, Pasco, Pinellas, Polk, and Sarasota

Serving Area: Tampa and the surrounding counties, including Citru, Hernando, Hillsborough, Manatee, Pasco, Pinellas, Polk, and Sarasota


License # EC 13014476

400 North Ashley Drive,
Suite 2600,
Tampa, FL 33602

Responsive Navigation Menu

Keentel’s  8 Steps for Installing a Generac Whole-Home Standby Generator.

01

Initial Assessment & Load Calculation

  • Conduct a site survey to determine power needs and the appropriate Generac generator size.
  • Identify essential vs. non-essential loads if using a load-shedding ATS. Calculated By Professional Engineers 
  • Verify fuel type (natural gas or propane) and availability.
  • Select an installation location compliant with Generac’s clearance requirements (5 ft from openings, 3 ft from combustibles).

02

Permitting & Utility Coordination

  • Obtain necessary permits from local authorities.
  • Submit interconnection paperwork to the utility provider (e.g., TECO) if required.
  • Schedule a gas company visit if upsizing the meter or extending the fuel line.

03

Site Preparation

  • Prepare the generator pad: Use a Generac pre-cast pad or pour a concrete base.
  • Ensure the pad is level and elevated to prevent flooding.
  • Route conduit paths for electrical and fuel connections.

04

Installing the Automatic Transfer Switch (ATS)

  • Mount the Generac Smart ATS near the main electrical panel.
  • Shut off power at the main breaker before making connections.
  • Run conduit and pull wires from the ATS to the generator location.
  • Connect the ATS to the home's electrical system, ensuring correct phase alignment.

05

Fuel System Installation

  • Install natural gas or propane lines per Generac’s BTU requirements (found in the manual).
  • Verify gas pipe sizing and ensure proper regulator settings.
  • Conduct a pressure test and check for leaks.
  • If using propane, ensure tank placement meets NFPA 58 clearance codes.

06

Generator Electrical Connections

  • Connect control wiring from the generator to the ATS.
  • Connect the generator’s main power leads to the ATS.
  • Properly bond and ground the generator per NEC Article 250.
  • Verify correct battery installation and charge status.

07

Initial Startup & Testing

  • Fill engine oil to the recommended level (Generac typically ships without oil).
  • Open the gas valve and perform a prime/start sequence.
  • Run Generac's self-test mode and verify proper operation.
  • Conduct a simulated power outage to confirm ATS transfer functionality.
  • Check for abnormal voltages, frequency, or error codes on the control panel.

08

Final Inspection & Homeowner Handover

  • Schedule final inspection with the building department.
  • Walk the homeowner through the generator operation, weekly self-test schedule, and maintenance intervals.
  • Provide documentation, including warranty details and Generac's recommended maintenance schedule.
  • Recommend annual service and remote monitoring setup (if using Mobile Link).

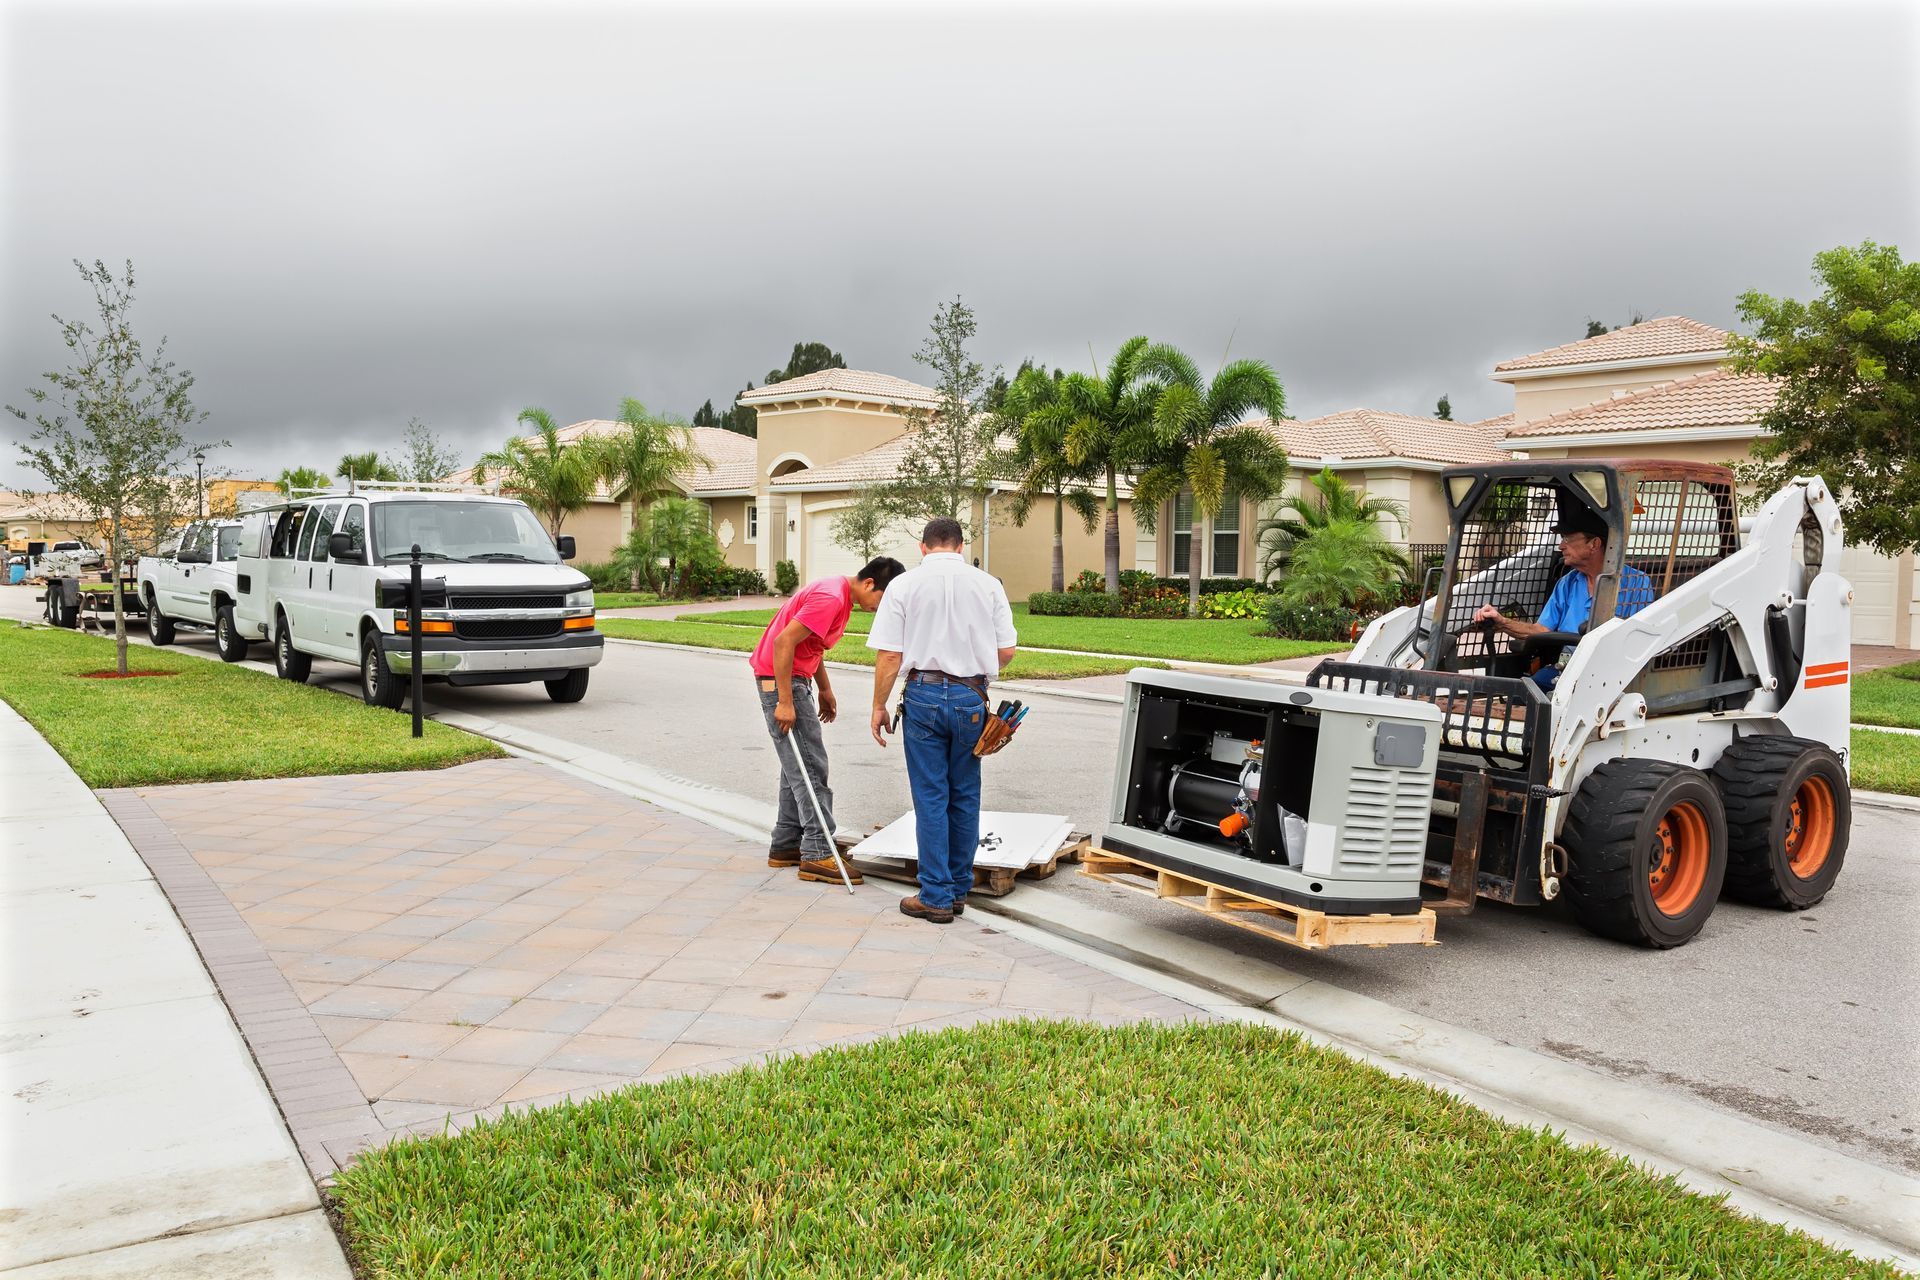
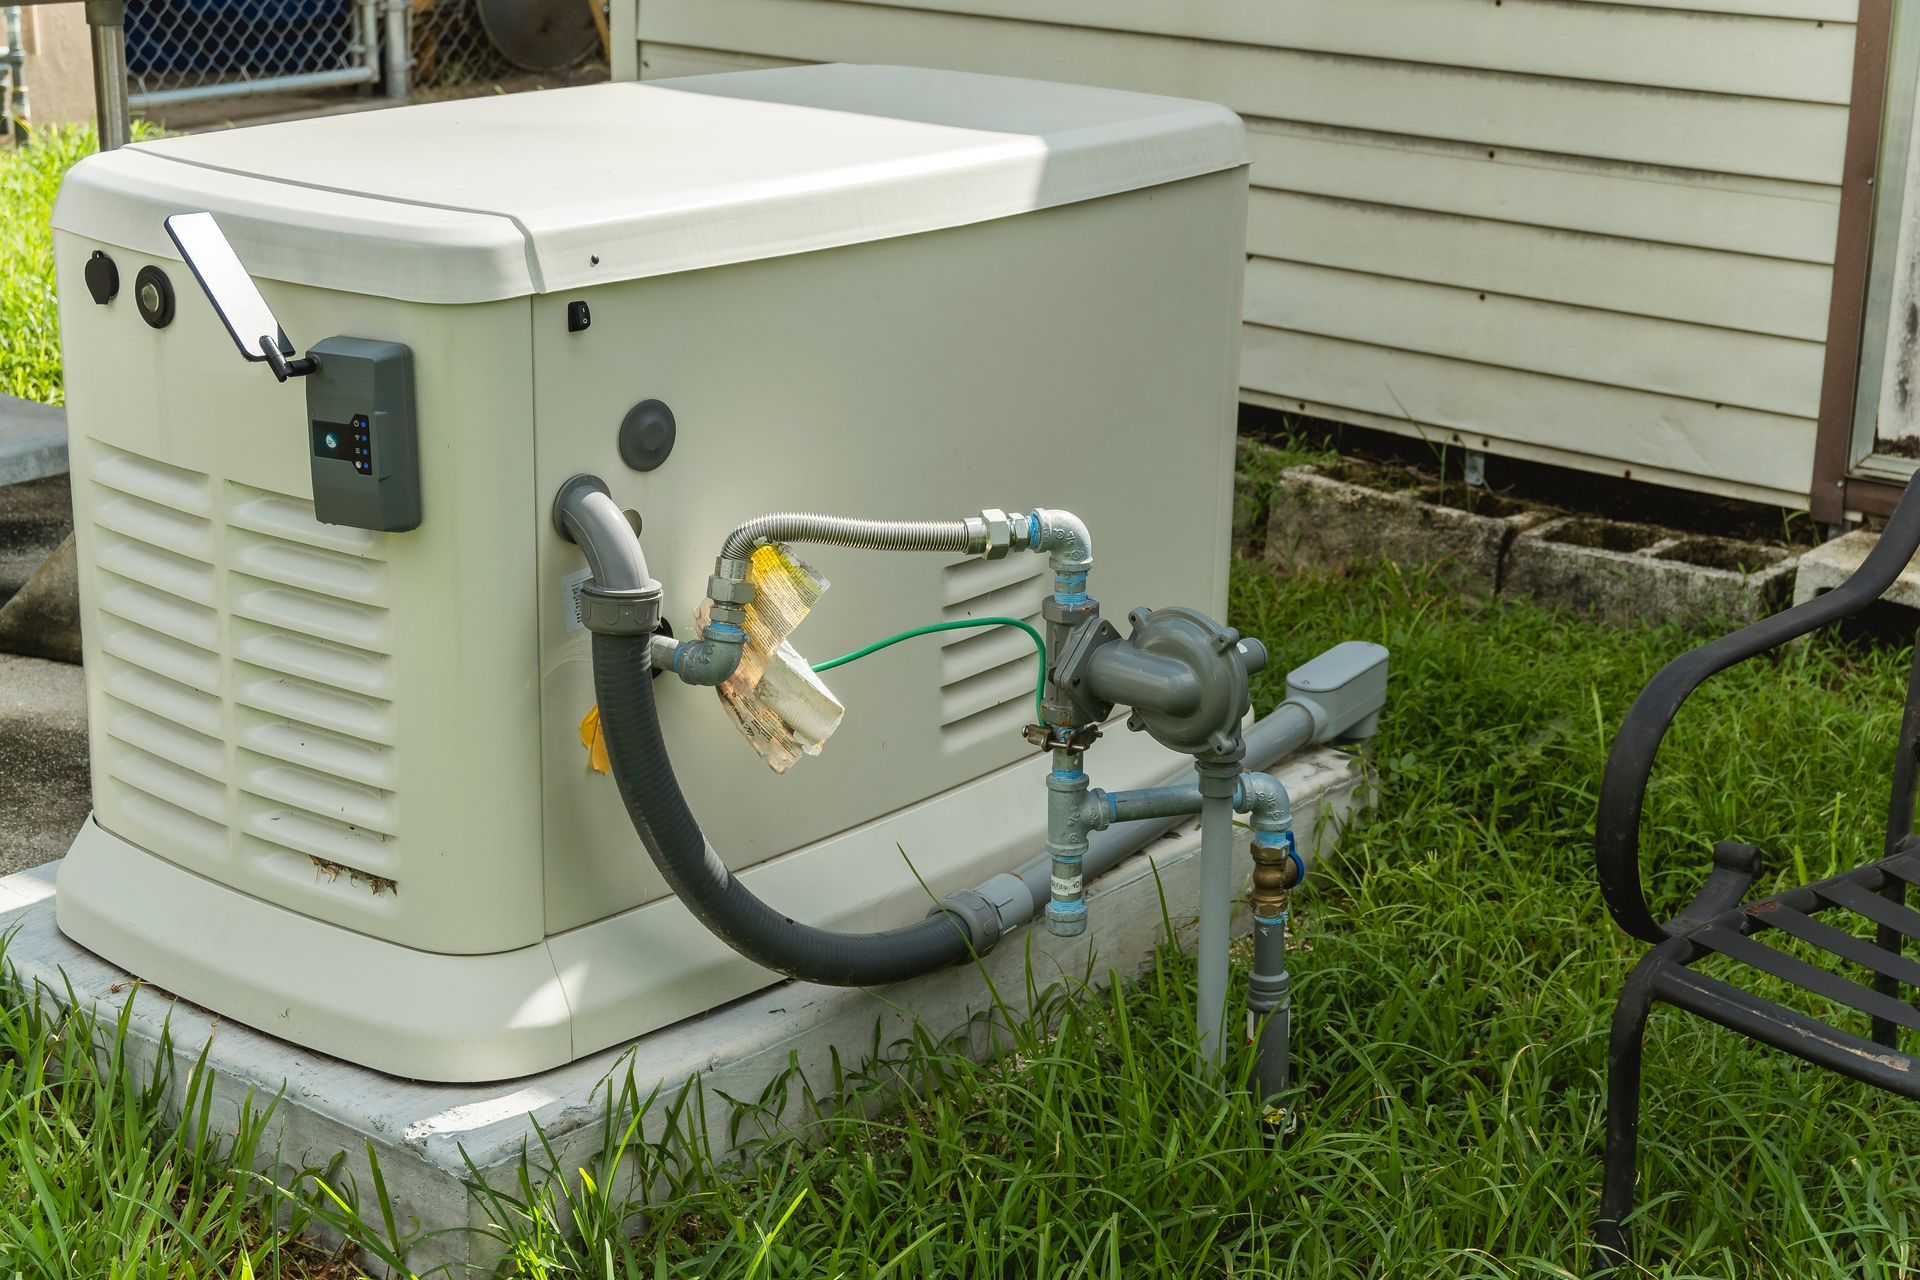
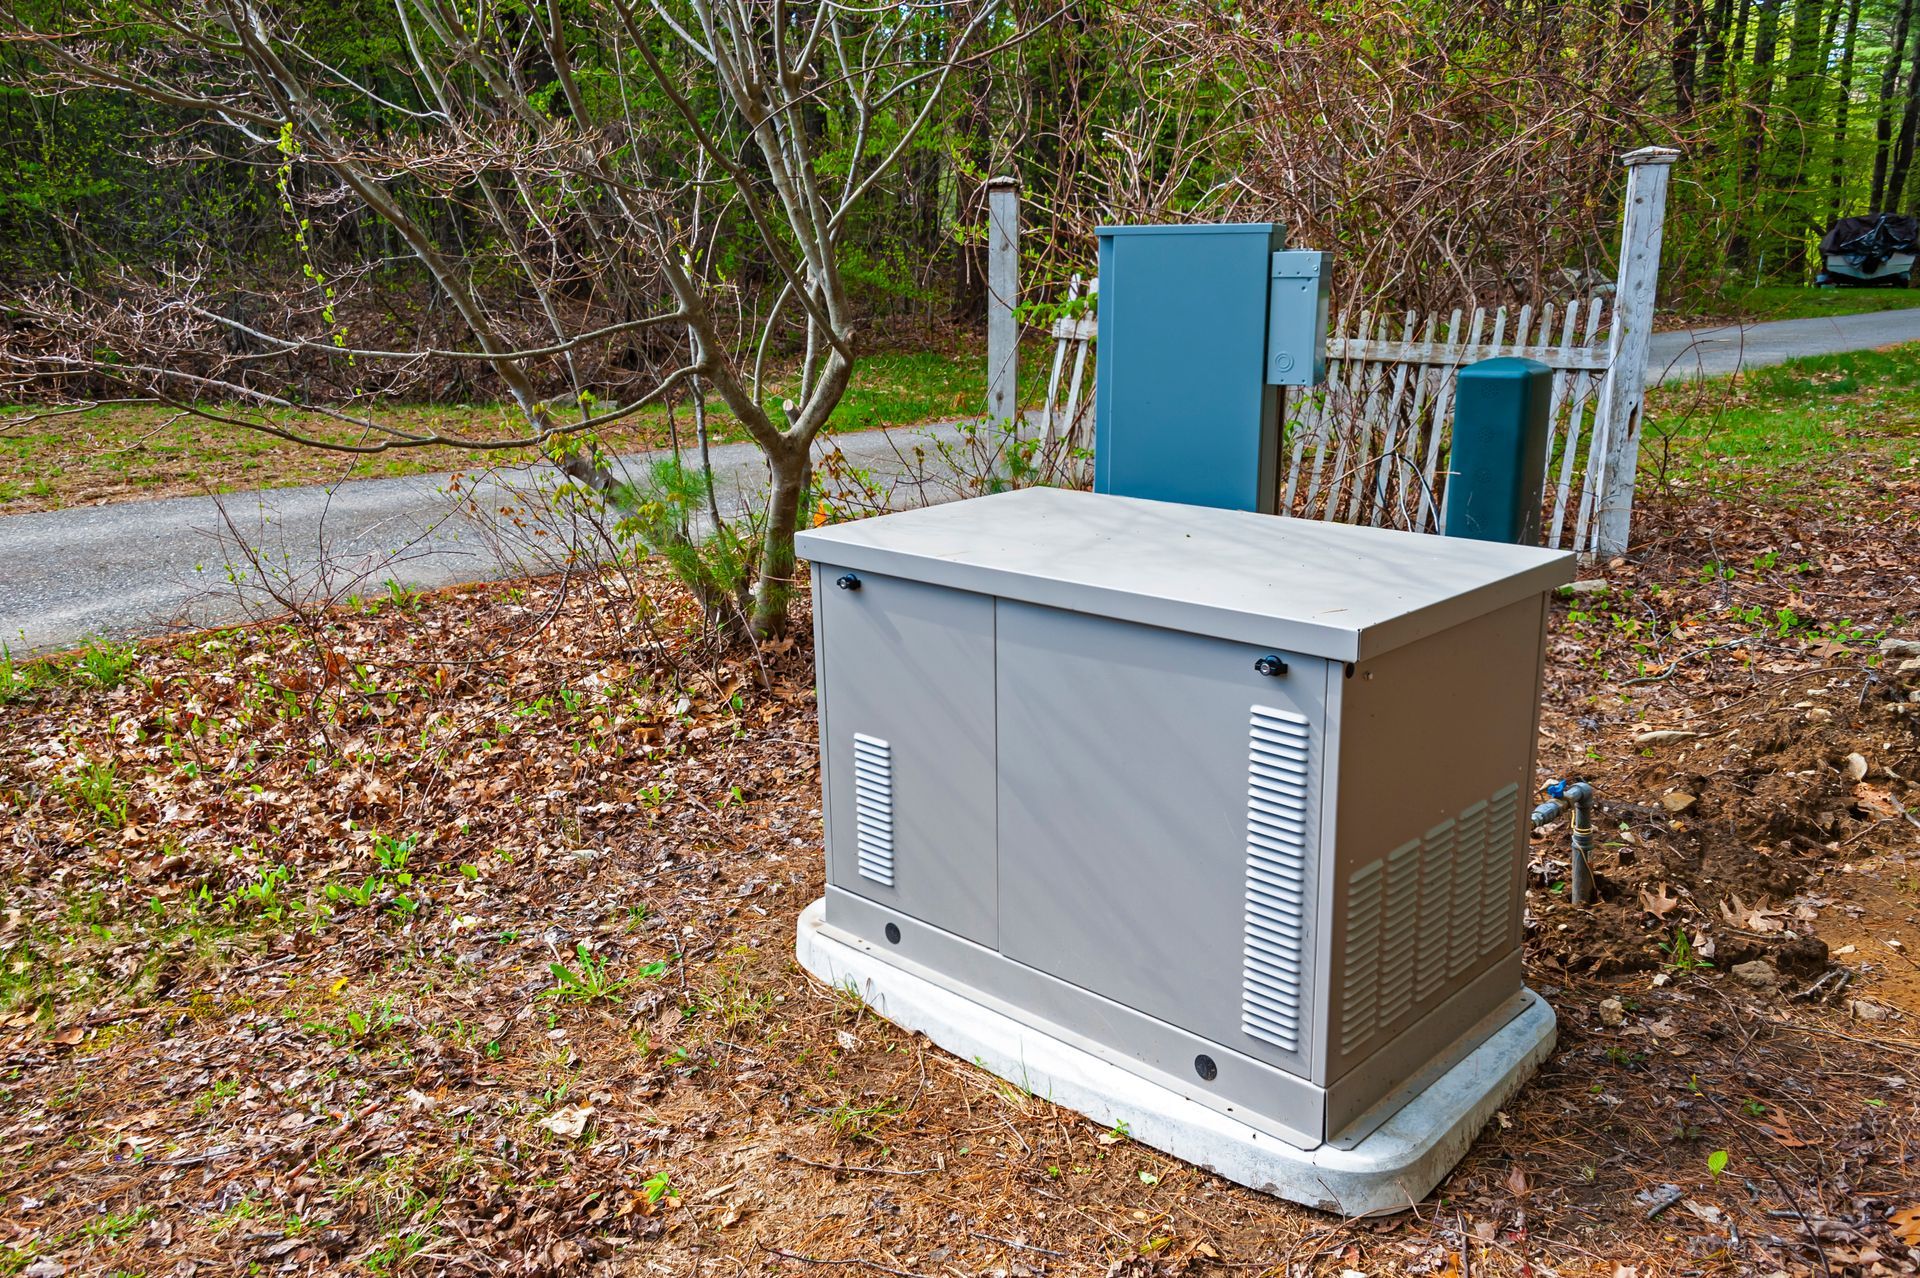
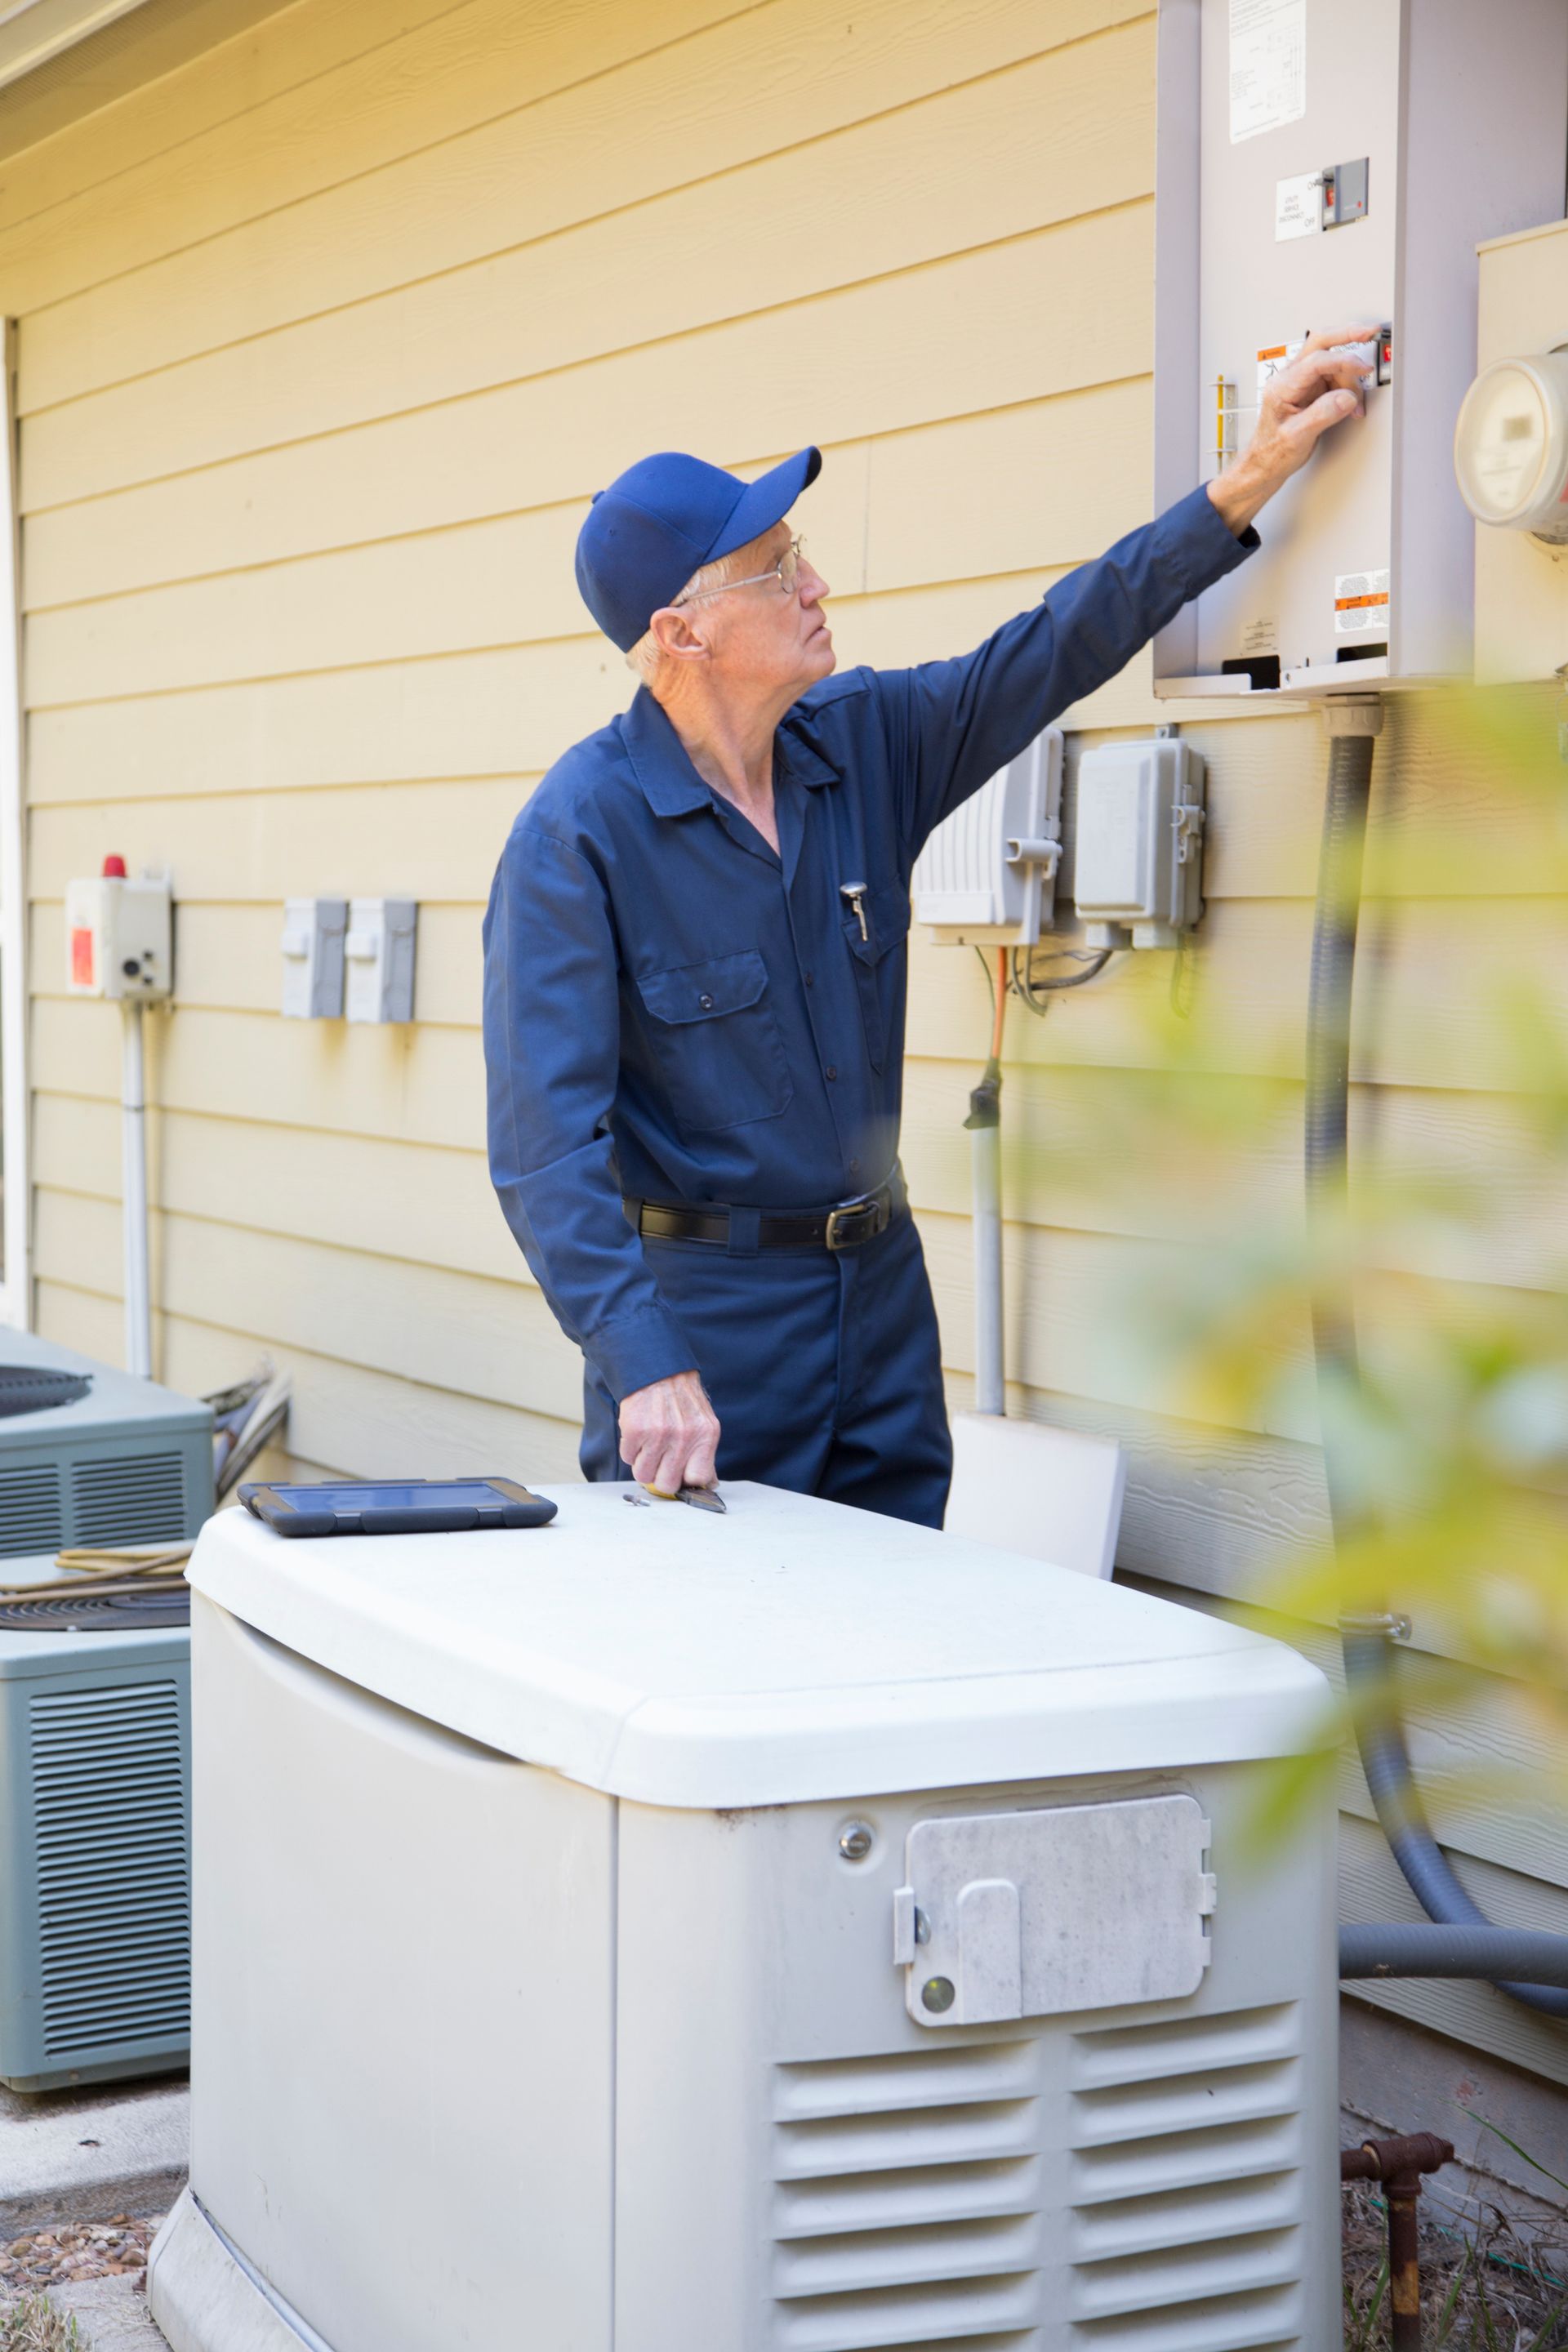
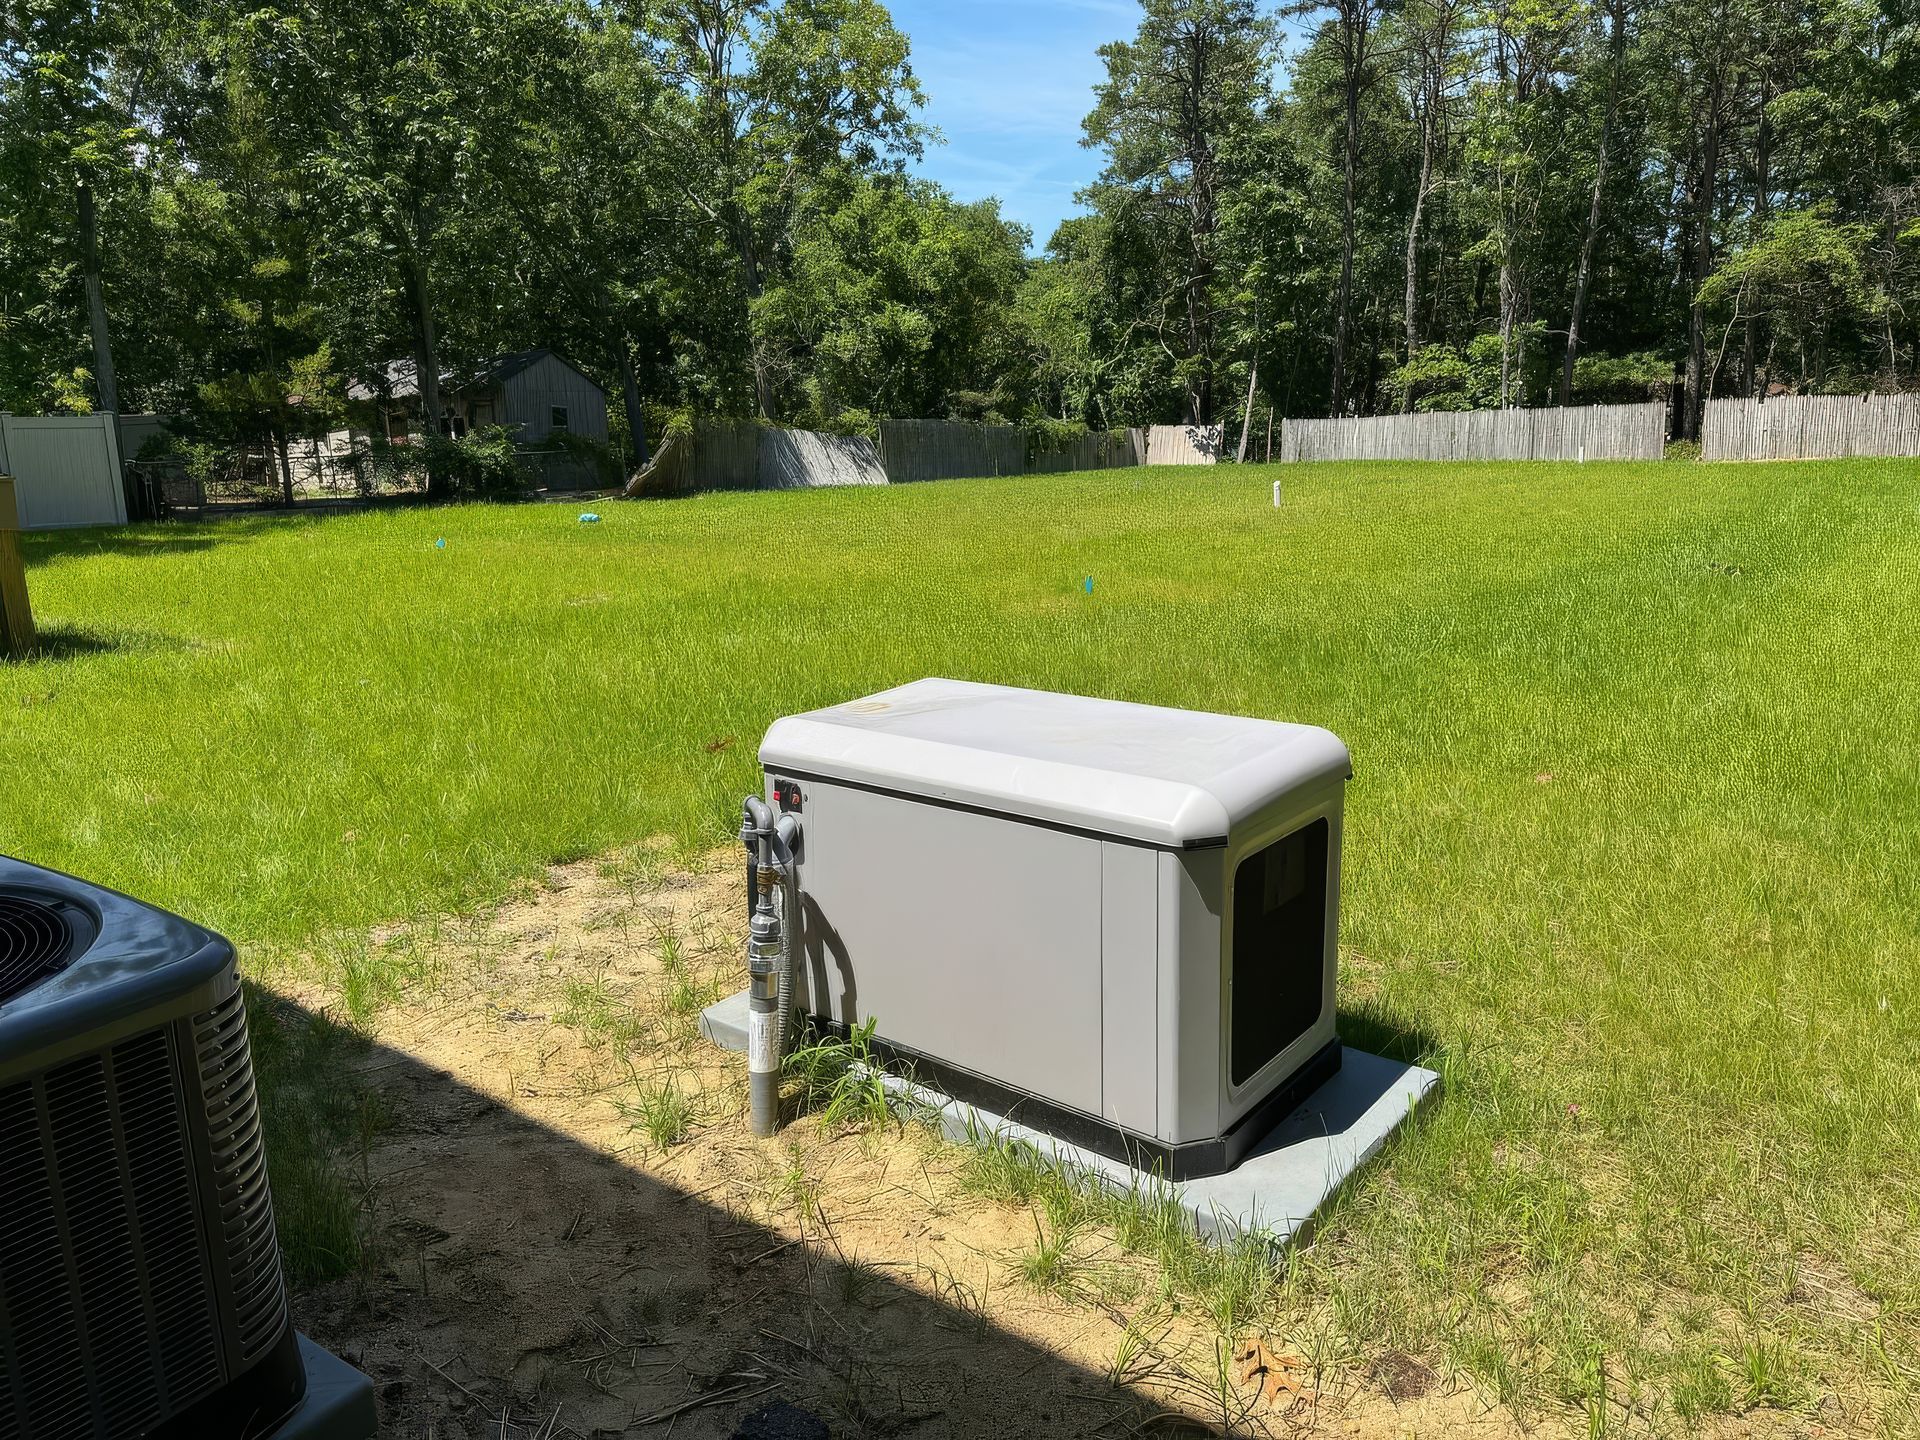
Power Up in 8 Simple Steps!

From assessment to activation, we handle every detail of your Generac generator installation—ensuring a seamless, worry-free experience.

Get A Free Estimate


Contact Us